Alright, for my MM90 painting project I will need a lot of Marauder style shields. Fortunately I do have a few originals, but I don't have any of the coffin lid shaped ones. These are the original ones made by Marauder, they are the same shields used for their undead line of miniatures:

On ebay I found a lot of the round ones with a Bat and a Rat, so I have plenty of those now, but I decided would sculpt some coffin ones.
 Here's the start, a coffin lid shaped piece of plastic and then adding the details with putty.

What I learned was, that next time I will start with the rim edge and then add the details in the middle, because it was really hard to make the rim nice and straight due to lack of room and access, ah well, we live we learn.

Then I took the finished product, lightly brushed it with Vaseline and created a shell of putty around it making sure it was pressed firmly around every little detail.

After the shell was dry, I brushed the inside again with some Vaseline and then pressed a blob of putty into again making sure it filled all the details. Let it harden and then, voila, a duplicate of your shield design!

On ebay I found a lot of the round ones with a Bat and a Rat, so I have plenty of those now, but I decided would sculpt some coffin ones.
What I learned was, that next time I will start with the rim edge and then add the details in the middle, because it was really hard to make the rim nice and straight due to lack of room and access, ah well, we live we learn.
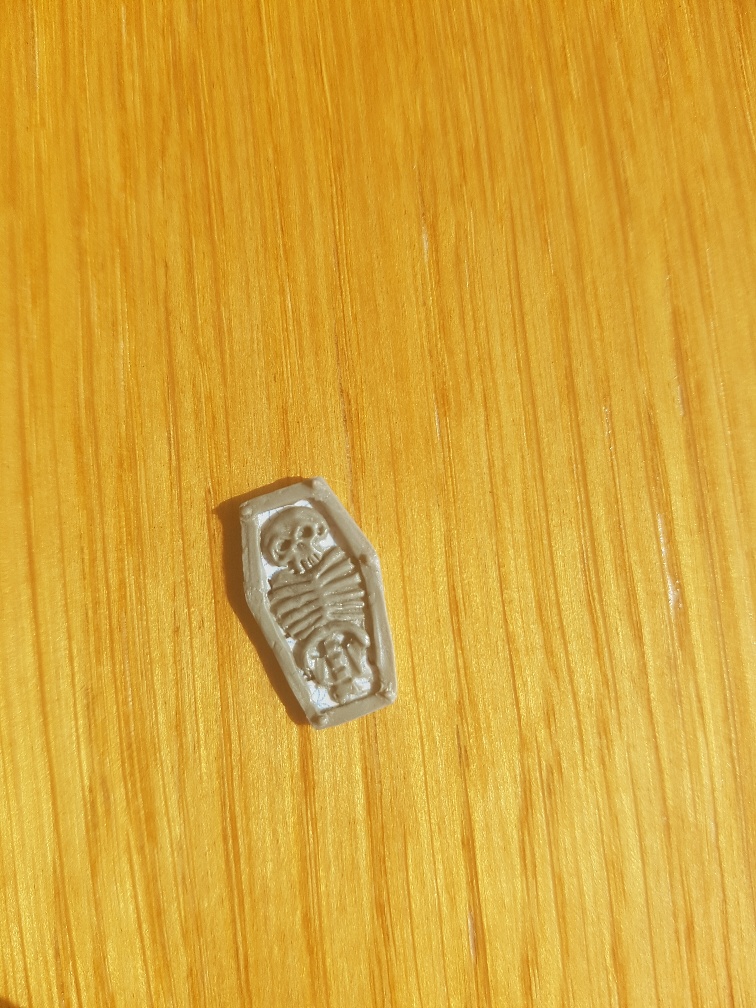
Then I took the finished product, lightly brushed it with Vaseline and created a shell of putty around it making sure it was pressed firmly around every little detail.

After the shell was dry, I brushed the inside again with some Vaseline and then pressed a blob of putty into again making sure it filled all the details. Let it harden and then, voila, a duplicate of your shield design!


